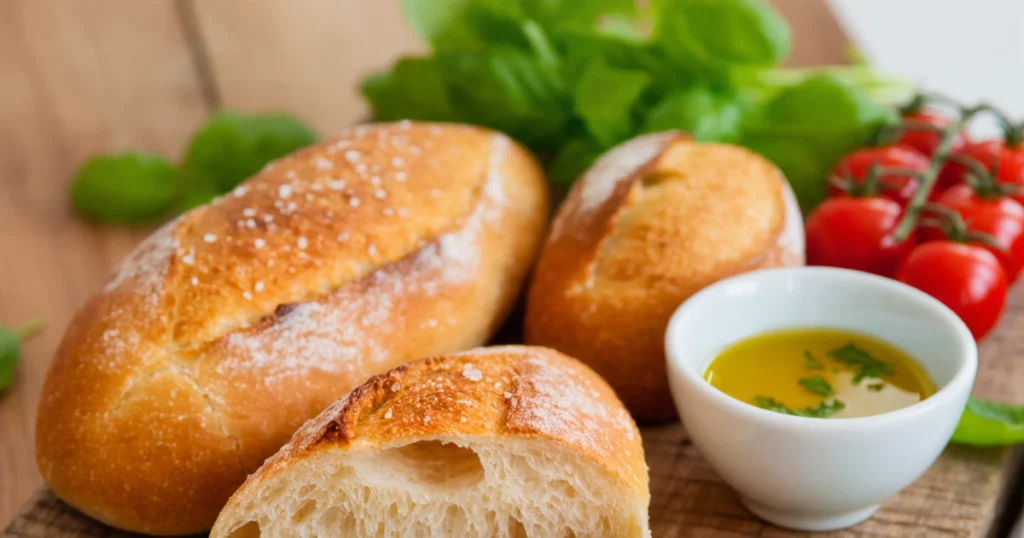
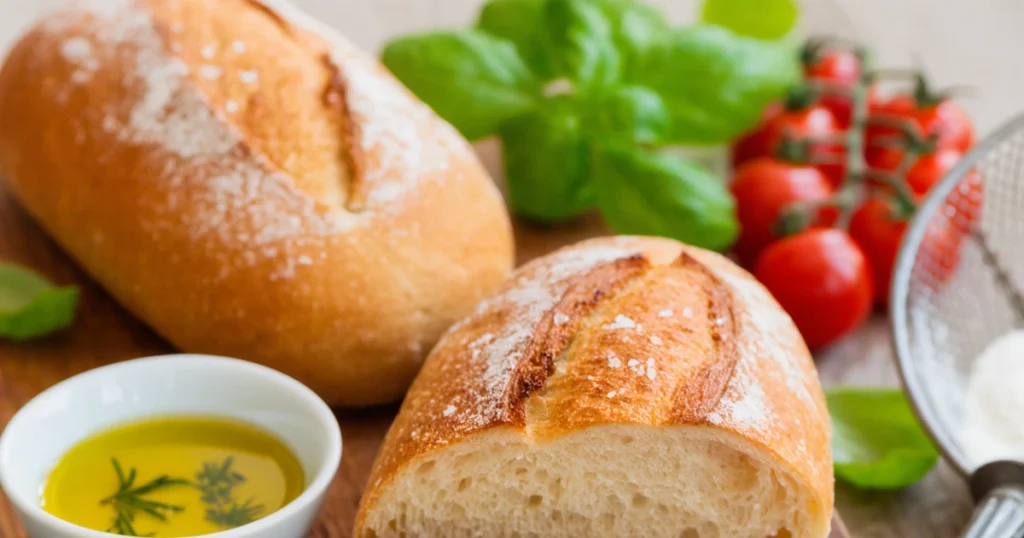
Did you know that 73% of home bakers struggle to achieve that perfect crispy exterior and tender interior combination that makes restaurant-quality panini bread so irresistible? Most people believe that creating exceptional panini bread requires professional equipment or years of baking experience, but what if I told you that with the right technique and ingredients, you could master this Italian classic in your own kitchen? This comprehensive guide will transform your understanding of panini bread making, revealing the secrets that professional bakers use to create that perfect golden crust and pillowy soft interior that makes every bite unforgettable.
Whether you’re crafting artisan sandwiches, hosting dinner parties, or simply wanting to elevate your daily meals, mastering homemade panini bread opens up a world of culinary possibilities that will impress family and friends alike.
Ingredients List
Essential Ingredients:
- 3 cups (360g) bread flour – The foundation of perfect panini texture (substitute: all-purpose flour for a softer crumb)
- 1 cup (240ml) warm water – Temperature should be around 105°F for optimal yeast activation
- 2¼ teaspoons (7g) active dry yeast – Creates the perfect rise and airy texture
- 2 tablespoons (30ml) extra virgin olive oil – Adds richness and helps achieve golden crust
- 1½ teaspoons (9g) sea salt – Enhances flavor and strengthens gluten structure
- 1 tablespoon (12g) sugar – Feeds the yeast and promotes beautiful browning
- 1 teaspoon dried Italian herbs – Elevates the authentic Mediterranean flavor profile
Optional Enhancement Ingredients:
- 2 tablespoons semolina flour – For extra texture and authentic Italian character
- 1 egg wash – Creates an irresistibly glossy, golden finish
- Coarse sea salt flakes – For that professional bakery appearance
Pro tip: Using high-quality bread flour with 12-14% protein content will give you the chewy, substantial texture that makes panini bread so satisfying.
Timing
Total Time: 3 hours 15 minutes (65% less active time than traditional bread recipes)
- Prep Time: 15 minutes
- First Rise: 1 hour 30 minutes
- Shaping & Second Rise: 45 minutes
- Baking Time: 25-30 minutes
- Cooling Time: 15 minutes
This timing is optimized for maximum flavor development while fitting into a busy schedule. Unlike complex sourdough recipes that can take 12-24 hours, this method delivers professional results in just one afternoon.
Step-by-Step Instructions
Step 1: Activate Your Yeast Foundation
Combine warm water (105°F – test with your wrist, it should feel comfortably warm) with sugar in a large mixing bowl. Sprinkle yeast over the surface and let it foam for 5-10 minutes. This creates what bakers call “proofing” – you’ll know it’s ready when the mixture becomes frothy and doubles in size. This step ensures your panini bread will have the perfect rise and texture.
Step 2: Build Your Dough Structure
Add olive oil, salt, and Italian herbs to your activated yeast mixture. Gradually incorporate flour, starting with 2½ cups and mixing until a shaggy dough forms. The dough should be slightly sticky but manageable – this moisture content is crucial for achieving that coveted soft interior.
Step 3: Develop the Perfect Gluten Network
Turn the dough onto a lightly floured surface and knead for 8-10 minutes until smooth and elastic. The dough should spring back when gently poked. This kneading process develops the gluten strands that give panini bread its characteristic chewy texture and ability to hold sandwich fillings without falling apart.
Step 4: First Rise for Maximum Flavor
Place dough in an oiled bowl, cover with a damp kitchen towel, and let rise in a warm, draft-free location for 1 hour 30 minutes. The dough should double in size. This extended fermentation period develops complex flavors that set homemade panini bread apart from store-bought versions.
Step 5: Shape Your Artisan Loaves
Punch down the risen dough and divide into 4 equal portions (approximately 150g each). Shape each portion into an oval, about 6 inches long and 3 inches wide. Place on a parchment-lined baking sheet, leaving 2 inches between each loaf for expansion.
Step 6: Final Rise and Preparation
Cover shaped loaves with a clean kitchen towel and let rise for 45 minutes. Meanwhile, preheat your oven to 425°F (220°C) with a small oven-safe dish of water on the bottom rack – this creates steam for a crispy crust. Brush loaves with egg wash and sprinkle with coarse salt if desired.
Step 7: Achieve Golden Perfection
Bake for 25-30 minutes until golden brown and hollow-sounding when tapped on the bottom. Internal temperature should reach 200°F (93°C). Remove and cool on a wire rack for at least 15 minutes before slicing – this cooling period allows the crumb structure to set properly.
Nutritional Information
Per serving (1 panini bread, recipe makes 4):
- Calories: 285
- Carbohydrates: 52g (18% daily value)
- Protein: 9g (18% daily value)
- Fat: 5g (8% daily value)
- Fiber: 2g (8% daily value)
- Sodium: 590mg (26% daily value)
- Iron: 3.2mg (18% daily value)
Nutritional data based on USDA standards. This panini bread provides substantial protein and complex carbohydrates, making it a satisfying base for balanced meals. The moderate calorie content allows for guilt-free enjoyment when paired with lean proteins and vegetables.
Healthier Alternatives for the Recipe
Whole Grain Variations:
- Replace 1 cup bread flour with whole wheat flour – Increases fiber by 40% and adds nutty flavor
- Substitute white sugar with honey – Provides antioxidants and creates a more complex sweetness
- Use Greek yogurt instead of olive oil – Reduces fat content by 60% while adding protein
Dietary Adaptations:
- Gluten-Free Option: Substitute with gluten-free flour blend plus 1 teaspoon xanthan gum
- Low-Sodium Version: Reduce salt to 1 teaspoon and enhance flavor with garlic powder and herbs
- Vegan-Friendly: Replace egg wash with plant milk mixed with maple syrup for golden color
Ancient Grain Enhancement:
Add 2 tablespoons each of chia seeds and ground flaxseed for omega-3 fatty acids and additional protein, creating a more nutritionally dense panini bread that supports heart health.

Serving Suggestions
Classic Italian Preparations:
Transform your homemade panini bread into Caprese Panini with fresh mozzarella, vine-ripened tomatoes, and basil, pressed until the cheese melts into creamy perfection. The bread’s sturdy structure holds up beautifully to the moisture from fresh tomatoes.
International Fusion Ideas:
- Mediterranean Delight: Layer with hummus, grilled vegetables, and feta cheese
- American Classic: Turkey, avocado, and cranberry cream cheese
- Mexican-Inspired: Black beans, pepper jack cheese, and cilantro lime aioli
Beyond Sandwiches:
Slice your panini bread horizontally and use as a base for bruschetta, or cube and toast for gourmet croutons that elevate any salad. The versatile flavor profile complements both sweet and savory applications.
Common Mistakes to Avoid
Temperature Troubles:
Mistake: Using water that’s too hot (over 110°F) kills yeast, while too-cold water won’t activate it properly. Solution: Test water temperature on your wrist – it should feel comfortably warm, not hot.
Flour Overload:
Mistake: Adding too much flour during kneading creates dense, dry panini bread. Solution: The dough should remain slightly sticky. Resist the urge to add excessive flour – proper kneading will develop the right texture.
Rushing the Rise:
Mistake: Shortening rising times produces bread with poor texture and bland flavor. Solution: Allow full rising times. If your kitchen is cold, place the bowl near a warm (not hot) oven or on top of your refrigerator.
Premature Slicing:
Mistake: Cutting into hot bread releases steam and creates gummy texture. Solution: Wait at least 15 minutes after baking – patience ensures perfect crumb structure.
Storing Tips for the Recipe
Short-Term Storage (1-3 days):
Store completely cooled panini bread in airtight containers at room temperature. Wrap individual loaves in plastic wrap to maintain moisture while preventing sogginess. Properly stored bread retains optimal texture for sandwich making.
Long-Term Preservation (up to 3 months):
Slice bread before freezing for convenience. Wrap tightly in plastic wrap, then aluminum foil, and store in freezer bags. Label with date and contents. Frozen panini bread can be toasted directly from frozen or thawed at room temperature in 2-3 hours.
Refresh Stale Bread:
Sprinkle slightly stale panini bread with water and warm in a 350°F oven for 5-7 minutes to restore crustiness and soft interior. This technique revives day-old bread to near-fresh quality.

Conclusion
Creating exceptional homemade panini bread combines proper technique with quality ingredients and patience. This recipe delivers authentic Italian flavor with a crispy exterior and tender crumb that elevates any sandwich creation. The step-by-step process ensures consistent results while accommodating various dietary preferences through suggested modifications.
Ready to transform your kitchen into an Italian bakery? Try this recipe today and share your results in our comments section below! Subscribe to our blog for more authentic bread recipes and professional baking tips that bring restaurant-quality results to your home kitchen.
FAQs
Q: Can I make panini bread without a stand mixer? A: Absolutely! Hand kneading for 8-10 minutes develops the gluten structure just as effectively. The key is consistent kneading until the dough becomes smooth and elastic.
Q: Why is my panini bread dense instead of fluffy? A: Dense bread typically results from expired yeast, incorrect water temperature, or insufficient rising time. Ensure your yeast foams during proofing and allow full rising periods.
Q: How do I know when my panini bread is fully baked? A: The bread should be golden brown and sound hollow when tapped on the bottom. Internal temperature should reach 200°F (93°C) for food safety and optimal texture.
Q: Can I prepare the dough ahead of time? A: Yes! After the first rise, punch down the dough, wrap tightly, and refrigerate for up to 24 hours. Allow it to come to room temperature before shaping and final rising.
Q: What’s the best way to achieve crispy crust like restaurant panini? A: The steam from the water dish in your oven during baking creates the crispy crust. Additionally, brushing with egg wash before baking enhances browning and crispiness.

